
Most “how to edit videos” advice stops at drag-and-drop. Real editing decisions happen under constraints: a 5‑minute video might start with 90–300 minutes of footage, your camera may record in a heavy interframe codec, and the platform you publish to will recompress your file whether you like it or not. Getting from messy media to a clean master is a system of small, compounding choices.
If you want a practical path: set up a stable project, cut for story first, fix sound before color, and export to the spec your platform can actually preserve. The details below give you numbers, defaults, and trade-offs so you can decide quickly and avoid avoidable rework.
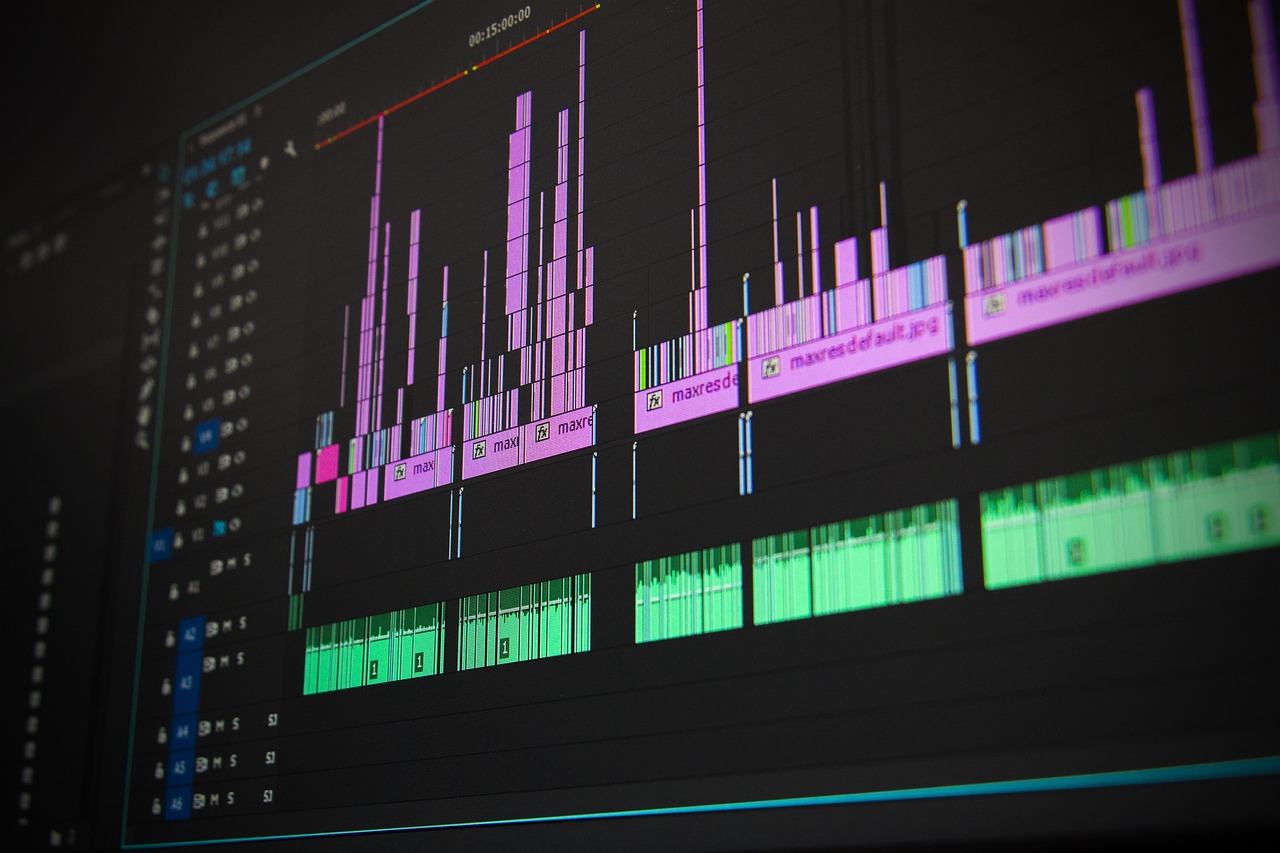
Set Up for Speed and Stability
Choose codecs your machine can play smoothly. H.264/H.265 are small but hard to decode; long-GOP structures can choke older CPUs. If timelines stutter, generate proxies or transcode to intraframe formats (ProRes 422, DNxHR HQ). A common proxy choice is 1280×720 ProRes Proxy at 1/4 resolution; you’ll typically see 2–10× faster scrubbing with minimal visual penalty while cutting.
Match project settings to delivery early. If you’re delivering 1920×1080 at 24 fps, set the sequence that way before placing the first clip. Conforming 30 fps capture to 24 fps changes motion cadence; if you must mix rates, retime with optical flow only on shots that can hide artifacts. For social verticals, decide orientation (9:16 vs 1:1 vs 16:9) up front; reframing a horizontal edit to vertical late costs hours.
Organize like you’ll hand this project to a stranger. Use bins for Camera A/B, Audio, Graphics, Music, and Exports. Name clips with date_scene_take (e.g., 2025‑03‑12_Sc03_Tk04). Color-label selects. A “selects” sequence that trims dead air before the rough cut typically reduces decision load by 30–60% because you scan a curated subset, not every file.
Protect yourself with the 3‑2‑1 backup rule: three copies on two kinds of media, one off-site. For active projects, keep media on a fast SSD/NVMe (1–3 GB/s) and a second copy on a large HDD RAID for safety. Enable autosave every 5 minutes and increment project versions per major change (Project_v12_rough, v13_music). Rebuilding a corrupt project at hour 200 is more expensive than being fussy at hour 2.
Crafting The Story In The Timeline
Start with intent, not effects. Write a one-sentence premise and a three-beat outline (hook, development, payoff). Assemble a radio edit first: dialogue or narration only, in correct order, no B‑roll. If the story works when you close your eyes, picture will elevate it; if it doesn’t, the slickest transitions won’t save it.
Use pacing targets appropriate to format. Talking-head explainers often land at an average shot length (ASL) of 3–6 seconds; product demos can go slower (6–12 s) to help viewers parse steps; fast social cuts sit at 1–3 s with clear motion anchors. Lead with the benefit in the first 5–8 seconds; audience retention curves routinely drop 15–35% in that window, so front-load why the viewer should stay.
Favor simple, motivated edits. Straight cuts do most of the work; J‑cuts (audio leads picture) and L‑cuts (audio lags) smooth dialogue and hide angle changes. Use B‑roll to cover jump cuts and compress time; a 3:1 to 10:1 B‑roll-to-final ratio is common for docs and YouTube tutorials. Avoid dissolves unless indicating time passing or location change indiscriminate crossfades signal indecision.
Trim with intent. Tighten breaths, double words, and “ums” that don’t serve character. If you remove too much, speech sounds unnatural; keep 2–6 frame handles around truncated breaths to preserve cadence. For speed ramps, add a small ease and motion blur; going from 100% to 1200% instantly without easing produces stutter, especially on 24 fps footage.
Sound And Color That Survive Platforms
Clean audio before you color; viewers tolerate shaky shots more than harsh noise. Dialogue should sit around −20 to −12 dBFS RMS during normal speech with peaks below −1 dBTP. For web platforms, an integrated loudness target near −14 LUFS stereo is a safe default; broadcast specs vary (often around −24 LKFS). Use a high-pass filter (70–100 Hz for most voices), light dynamic EQ to tame harshness (2–5 kHz), and a de-esser for sibilance (typically 6–8 kHz). Heavy noise reduction can cause warbling; reduce noise in two or three gentle passes rather than one aggressive one.
Mix with headroom. Leave 3–6 dB of crest factor between dialogue peaks and the limiter ceiling. Set your final limiter at −1.0 dBTP to avoid intersample clipping after platform encoding. Balance music at −20 to −16 LUFS momentary under dialogue; duck 3–6 dB under voice and automate rather than rely on sidechain alone. Effects should be felt, not foregrounded; short room tone loops hide edit seams better than constant noise prints.
Color within a managed pipeline. If you shot log (S‑Log3, C‑Log3, V‑Log) or RAW, convert to a consistent display space early (e.g., to Rec.709 gamma 2.4) before creative grade. Use scopes, not your eyes: keep skin tones near 45–65 IRE on the waveform; keep legal luma in 0–100 IRE for SDR delivery. White balance first, then contrast, then saturation; add creative looks last. LUTs are starting points, not solutions apply at 20–60% opacity if they clip highlights.
Mind gamma shifts. Computer players default to sRGB-ish viewing; most NLEs preview Rec.709 gamma 2.4. This mismatch can make midtones look washed or crushed across apps. Where available, enable proper display color management, and export test clips. If your client needs HDR, confirm the entire chain (capture 10‑bit+, color-managed timeline, and HDR metadata at export); otherwise stick to SDR Rec.709 to avoid surprise desaturation on standard devices.
Add captions for reach and compliance. For spoken content, aim for 15–17 characters per second and keep two lines max with 32–42 characters each. Burn-in for platforms that don’t support sidecar files; otherwise deliver .srt with accurate timecodes. Captions increase completion rates for muted autoplay and help non-native speakers both common on mobile.
Efficiency Techniques Editors Actually Use
Cut with the keyboard. Ripple delete, trim forward/backward, and add edit are worth more than any plugin. A practiced editor can perform 5–10 timeline operations per second with hotkeys; mouse-only cuts rarely exceed 2–3. Map Q/W (trim to playhead), I/O (mark in/out), and ;/’ (nudge) to comfortable positions. Use pancake timelines: a top sequence with selects feeding a bottom master sequence for fast, visual drag-down choices.
Leverage adjustment layers and nested sequences. Put color and global FX on an adjustment layer so tweaks affect all underlying clips. Nest complex motion graphics to keep the main timeline readable. Use markers with short labels (e.g., “BROLL: hands typing”) to plan inserts without stopping playback.
Cache and pre-render strategically. Red bar sections (unrendered) cost time on every review. Render trouble areas before client sessions. If your NLE supports smart render of intraframe codecs, intermediate formats can cut export time by 2–5× on iterative versions.
Respect legal and rights limits. Stock footage and music licenses often restrict re-use across clients or platforms; read the license, not the marketing page. Fair use is context-specific and risky to rely on; if a piece of music is core to the video, budget for it or pick a royalty-free alternative. Keep a cue sheet of title, composer, and license for each track.
Exports That Don’t Break In The Wild
Choose the right codec for your destination. For general web upload, H.264 in an MP4 container is widely accepted. H.265 (HEVC) is ~20–40% more efficient at the same visual quality but can decode poorly on older devices and may upload slower. For high-end handoffs or archival, export ProRes 422 (10‑bit) or DNxHR HQ; files are large (10–20× H.264) but survive color and VFX roundtrips.
Pick a rate control strategy. If using x264/x265, Constant Rate Factor (CRF) 18–22 for 1080p is common; lower is higher quality and larger files. If your encoder forces bitrates, 1080p 24–30 fps often looks clean at 8–12 Mbps, 1440p at 16–24 Mbps, and 4K at 35–60 Mbps, assuming decent motion. Use two-pass VBR for tight size targets; CBR is for live streams, not files. Set keyframe interval to 2 seconds to match many platform transcoders.
Lock in audio spec. Use 48 kHz sample rate, 16‑ or 24‑bit depth, AAC at 320 kbps for stereo. Check true peak with a dBTP meter; keep below −1.0 dBTP. If your platform normalizes loudness (many do), mixing hotter than −14 LUFS won’t make you sound louder; it will just be turned down, potentially revealing noise floor or pumping.
Do a short QC pass before the long one. Export a 10–20 second “stress test” containing fast motion, gradients, and complex textures; check for banding and macroblocking. If gradients band, add 1–3% dither/noise to the gradient layer or increase bitrate. If fine patterns shimmer, reduce sharpening or add a tiny directional blur (0.3–0.6 px) to problem shots. Watch the final on a phone, a laptop, and a TV; many issues hide or appear depending on screen size and processing.
Deliver sensible variants. A typical package: master mezzanine (ProRes/DNxHR), web upload (H.264/H.265), social crops (9:16 and 1:1), textless version for internationalization, and separate music/effects stems for future updates. Archive the project with trimmed media and 2–3 second handles to keep size reasonable while preserving future edit flexibility.
Conclusion
Editing is decision triage under technical limits: stabilize the pipeline (proxies, organization, backups), prove the story with a radio cut, fix sound, then color, and export to the spec the platform actually honors. If you’re unsure what to do next, use this order: set sequence to delivery settings, make a selects reel, build a 60‑second radio edit, target −14 LUFS with peaks below −1 dBTP, conform color to Rec.709 gamma 2.4, and export H.264 at 8–12 Mbps for 1080p with a 2‑second keyframe interval. This covers 80% of “how to edit videos” decisions with minimal surprises.